
Making coffee at home can be fun and while we are biased in thinking that the best coffee to make at home is pour over we can't ignore all the milk drinkers looking to make an affordable latte / flat white at home. And while you might be thinking this is an expensive adventure, we made a latte recipe using an AeroPress.
In this article I am going to share with you how you can make an espresso-like coffee and a silky textured milk to make a latte that can be just as good as a cafe.

Ingredients:
- 14g of espresso roasted Coffee Beans
- 50g of Water at 98ºC
- 2x AeroPress paper filter
- 1x Milk pitcher
- 200-300ml of milk of choice
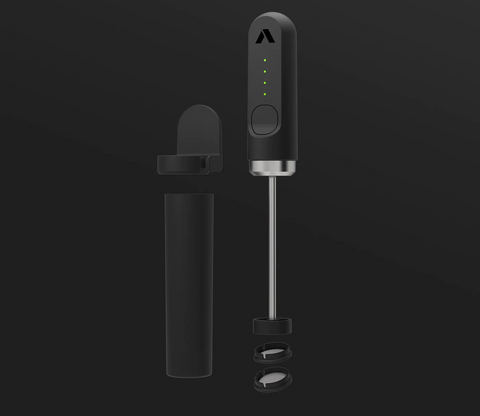
- 1x Subminimal Nano Foamer
Recipe:
1. Grind Your Coffee Beans
Start by grinding your coffee beans very fine. The consistency you're aiming for is somewhere around a gritty powder. If you're using a Comandante grinder, 6-10 clicks should give you the ideal grind size. This is going to help create a puck of coffee and allow you to build up pressure when plunging.
If you can, make sure to grind fresh right away before brewing and use freshly roasted coffee, this will make a HUGE difference in the taste of your coffee and will allow you to create a thick crema on top of your espresso shot.

2. Brew your espresso-like coffee
Add 50g of water boiled water to 98ºC to your AeroPress. This temperature is perfect for extracting the rich flavours and aromas from your coffee without scalding the beans. Stir the mixture for about 30 seconds to ensure all the coffee grounds are fully saturated and are extracting evenly.
This coffee to water ration is 1:3, while most espresso is 1:2 it is a bit more stretched out in comparison. The reason for this is so that we are able to have enough water to brew with in the chamber and so that when the coffee is pushed through into the cup you get enough coffee to use as your espresso shot yield.
3. Plunge your coffee
After stirring, securely screw on the AeroPress cap with 2x pre-rinsed paper filter. Now, the key to this step is to plunge as hard as you can. This forceful action will press the coffee through the grounds and filter, creating a strong, espresso-like concentrate that forms the base of your latte.
The harder you press the more crema will develop on your espresso.
4. Heat Your Milk
Next, heat your choice of milk to the desired temperature. Whether you prefer dairy or a plant-based alternative, the goal is to achieve a temperature that's hot enough for steaming without boiling. If you have a thermometer aim to reach 55º-65ºc
Pour the heated milk into a milk pitcher, ready for texturing.
5. Texture Your Milk
Using the Subminimal Nano Foamer, texture your milk until it reaches a silky, microfoam consistency. This step is crucial for creating that velvety smooth milk that combines so well with the coffee concentrate, and it's what makes your latte a latte.
To do this effectively, submerge the nano foamer into the milk and turn it on, tilt your jug to the side so the Nanofoamer is off centre and aim to create a vortex. Next change the height of the Nanofoamer to adjust how much foam is developed, the higher the Nanofoamer is the more foam will be created and the lower the Nanofoamer is less foam will develop.
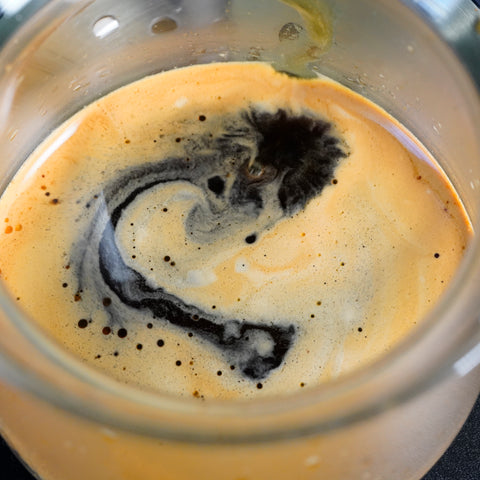
6. Pour Your Latte Art
With your coffee concentrate waiting in a latte glass and your milk perfectly textured in a milk pitcher, you're ready to pour. Tilt the glass slightly and begin pouring the milk in a steady stream. As the glass fills, start moving the pitcher in small circles or a side-to-side motion to create your desired latte art design. This step will take a bit of practice, but it's where you get to develop your latte art skills.